Failing Power Supply
Believe it or not, a failing power supply is one of the most common problems with personal computers. It causes intermittent problems such as random reboots or Blue Screen’s Of Death (lockups) during normal computing tasks. When a computer doesn’t repeat the same symptoms, it is usually a dead giveaway that a power supply is on it’s way out. It is a simple swap/upgrade procedure that will have you operational in about 15 minutes.
We recently had this same problem and I decided to document it. Our computers facilitate the printing of over 100,000 postcards per day on our high-speed inkjet systems. This is a process intensive task for the computer. The failure of the computer to keep up could be detrimental to our final product and production schedule. At the first sign of a random reboot, I first checked the power systems. Did we have lightning in the area? Did the circuit breaker trip? No and No. Were we getting power to the outlet? The surge suppressor? Yes and yes. The next day the random reboots returned. Half way through printing a mailing list and the reboots became more frequent. This was unacceptable and it was time to get my hands dirty.
- Grab A Screwdriver
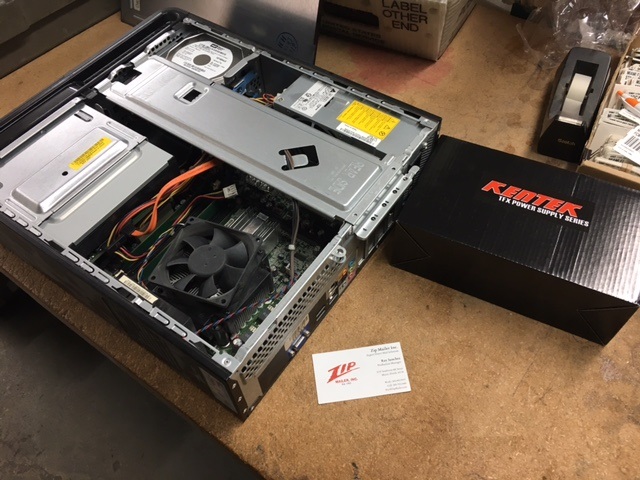
Every computer will be different, but this particular computer had two Phillips screws to remove the side panel of the computer for internal access. After removing the side panel, it was easy to see that the computer had collected some dust. A quick blow out with the air compressor would ensure the fans of the computer would function at full capacity and the computer wouldn’t overheat. NOTE: Place a pen or pencil in the fans before applying compressed air. It is really easy to overstress the case, cpu, or power supply fan.
- Testing the Voltage
A sure fire way to test a power supply is to check the voltage with a digital multimeter. A computer power supply unit converts 120V AC to 12V, 5V, and 3.3V DC. The multimeter should be set to 20V DC and the computer needs to be powered on. Insert the red lead of the multimeter into the red wire socket of a molex connector. The black lead goes into a black wire socket. The reading is supposed to be 5V but it wasn’t. The power supply needs to be replaced.
It is great practice to have an extra power supply on hand when downtime is critical. Just make sure it is the correct form factor (size) and the wattage rating is equal or above. The computer will only use the power it needs, but a power supply unit that is underrated can and will start a fire.
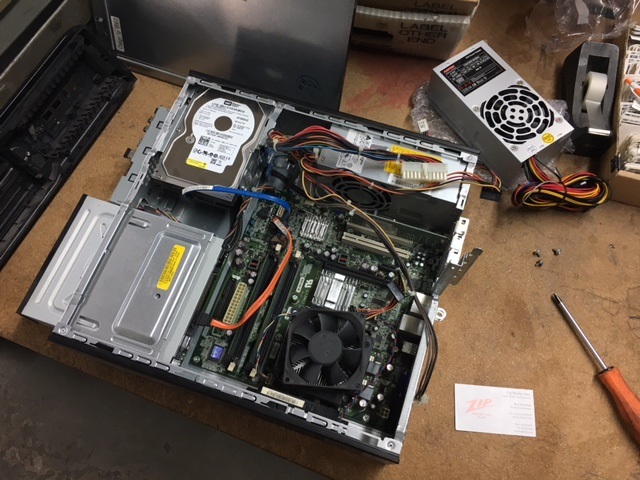
A Phillips screwdriver is an essential tool to remove the four screws from the backside of the power supply.
- Out With The Old, In With The New
After removing the power supply connectors from the motherboard, optical drives, and hard drives, it was time to swap the Power Supply Unit (PSU) and replace it with the new one.
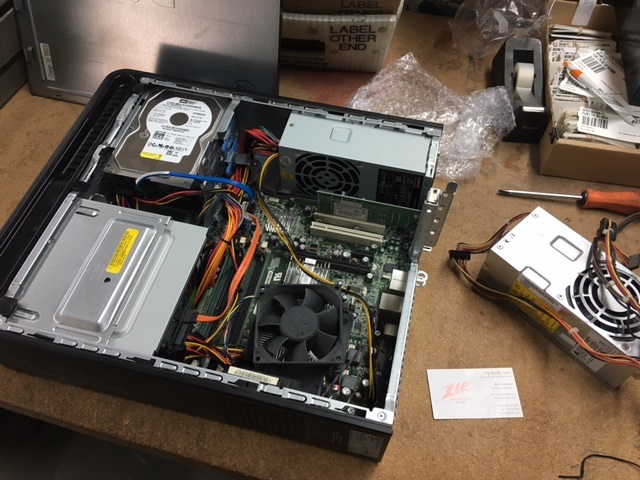
Reroute all the wires and plug them in. Before replacing the four power supply screws, turn the computer on to ensure proper function and then shut it down. Install the screws and the side panel. Discard old power supply.
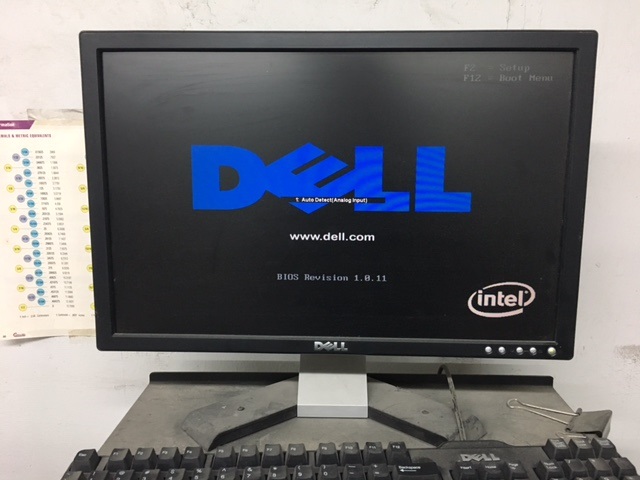
A computer that is free of random reboots and intermittent lockups!