Cuban Pork Shoulder In Oven at 300F with Total Seasoning (Sazonador Total) by Goya
Roasted pork shoulder is a staple for Cubans on Christmas Eve (Noche Buena) or anytime of the year. A bone-in pork shoulder and some total seasoning (sazonador total) is the simple combination that will have your children licking their plates and make your dog jealous.
The Problem: As kids grow, they begin to realize they want snacks instead of dinner.
The Solution: Flood the entire house with the aroma of roasted bone-in pork shoulder. This will be in the oven all day so start early and make sure someone is around to watch it.
I don’t remember if we have a pork shoulder in the basement freezer and I don’t feel like digging through the freezer to check. I checked my food inventory database and we had one in there! It will have to thaw in the fridge for about 2-3 days.
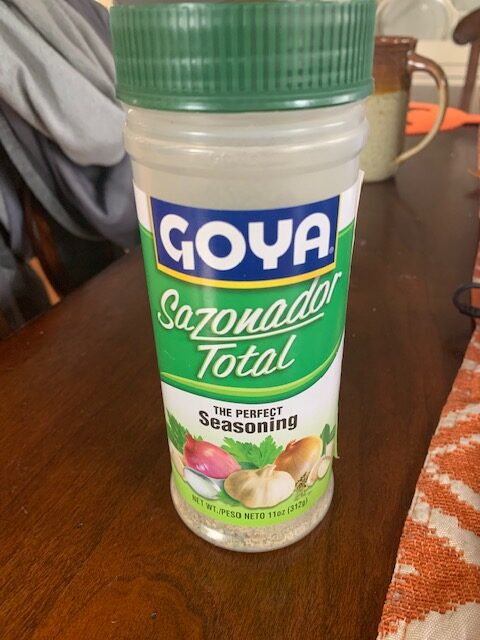
The night before: All we need is one 8-10 pound bone-in (picnic) pork shoulder, pam spray (or olive oil), and some Goya total seasoning. Place pork shoulder on a large cutting board and score the fat cap multiple times diagonally.
This will allow you to easily pick at the “pork cracklings” on the top.
Spray pam all over the shoulder (or rub olive oil on it) and season it well. Cover and store in the fridge over night.
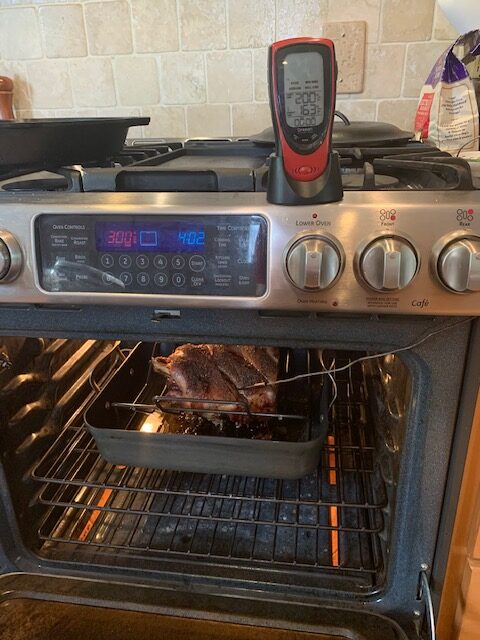
Day of: It will take a little less than an hour per pound of pork at 300F. Set the oven to 300F and place the pork shoulder on a rack in a roasting pan. Insert the end of the wireless meat thermometer into the shoulder. Let it cook for 4 hours uncovered and then covered with thick aluminum foil. Once it reaches an internal temperature of 185F, remove the aluminum foil and crank up the oven temperature to 425F. This will crisp the outside and the fat cap on top. Remove the pork when the thermometer reaches 200F internally. Let it rest for 15 minutes before carving on a cutting board.
TV Screen Black – Power Works – Nothing On Screen – Fix Sharp Aquos LC-50LB261U Backlight
The Problem: The screen on my 5 year old (conveniently out of warranty) Sharp Aquos LC-50LB261U LED TV won’t light up. After pressing the remote or the power button on the left side of the TV, the blue light comes on but the screen remains black.
“TV is getting power but it isn’t lighting up”
The Solution: While leaving the TV powered on, I pressed the menu button on the remote. I held a flash light up to the TV and I could barely see the menu in the middle of the screen but it was there.
Great news! A swap of the LED back lights inside the panel was worth a shot!
It was time to do a little internet research and source the replacement LED backlight specific to my TV model Sharp Aquos LC-50LB261U LED TV.
$53.48 ($44.99 + $8.49 Shipping) from Amazon was definitely more appealing than trashing an awesome Sharp Aquos TV. Also, I picked up some heavy duty screen suction cups ($8.89 w/ free shipping) to safely remove the LED screen. Better safe than sorry!
$53.48 Sharp LC-50LB370U LC-50LB371U LC-50LB261U 500TT65 500TT66 500TT61 V3 500TT62 V3 12 PCS LED Backlight Strips Replace
$8.89 Kaisiking Heavy Duty Suction Cups 2 Pcs Screen Suction Cup
$62.37 Total Cost (minus sweat equity)
I was confident enough to open the panel and replace the LED back lights myself, but I found a tear down tutorial on Youtube just in case.
Followed the video, reassembled the TV, and it fired right up! Excited to see how long the new LED back lights will last. A big thanks to ShopJimmy.com for the video.
About Me

A self-taught front end web developer who loves to travel, create things, solve problems, and grill! I enjoy the challenge of taking things apart, learning how they work, and improving them. I created this site to document and share what I've learned.